
Author : Vikram Shah / 2 Minute Read
How to clean your test sieves ?
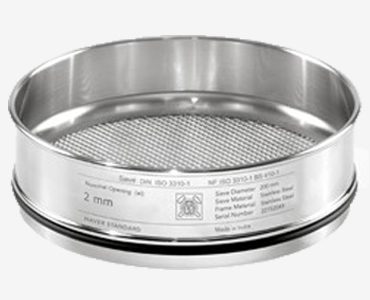
Test sieves are commonly used in various industries to separate and classify materials by particle size. It is important to maintain and clean them well, to ensure accuracy and consistency of testing results.
Materials clogging the mesh need to be cleaned regularly, to avoid measurement issues.
Correct storage in a clean, dry location is important.
What are the key signs that your test sieves need cleaning?
- Visual Inspection – you will be able to see residual materials clogging the sieve mesh openings.
- Anomalies in your test sieve results will increase, mainly higher retention percentages.
This can lead to accuracy issues, as the openings will become smaller.
After use, they should be cleaned to ensure accurate and reliable test results in subsequent use. Here are the general steps for cleaning test sieves:
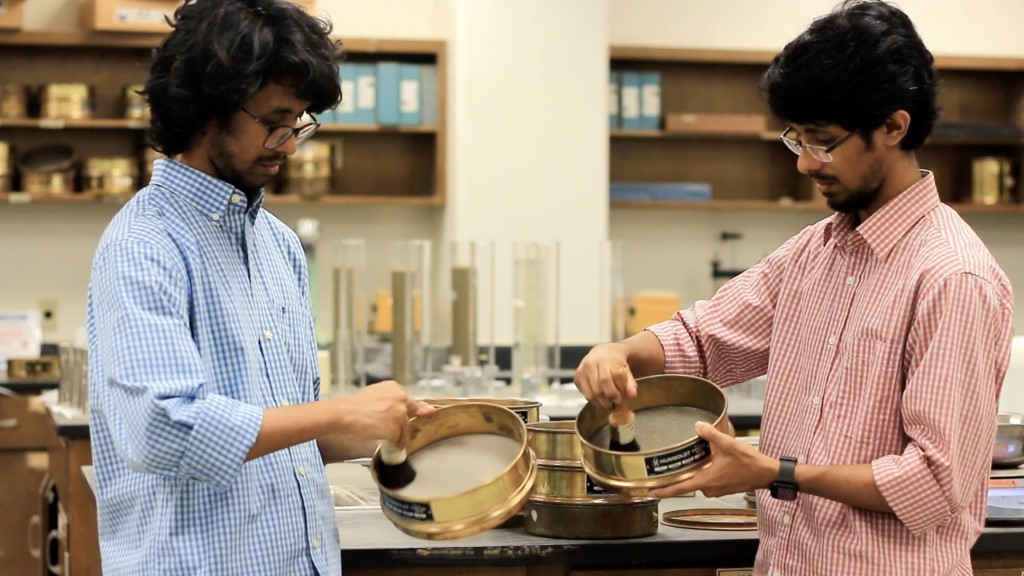
- Remove any loose particles from the sieve by gently tapping it over a waste container or using a soft-bristled brush.
- Rinse the sieve with warm water to remove any remaining particles.
- If there are any stubborn particles stuck on the sieve, you can soak it in a solution of mild detergent or cleaning agent and warm water for a few minutes. Be sure to follow our instructions for recommended cleaning solutions.
- Gently scrub the sieve with a soft-bristled brush or a non-abrasive cleaning pad. Avoid using abrasive materials or harsh chemicals that could damage the sieve.
- Rinse the sieve thoroughly with warm water to remove any traces of cleaning solution.
- Shake off excess water and dry the sieve with a lint-free cloth or air dry it.
- Store the sieve in a clean, dry place until its next use.

It's important to note that the cleaning process may vary depending on the type of test sieve and the materials being tested. Do reach out to us for any questions you may have on the maintenance and cleaning of your test sieves.
